
This symbol is a from a brush back and it is just a simple circle behind it. I would not suggest you guys using this as an actual watermarker for yourself but people do what they want. This is just for teaching reasons :)
Watermark

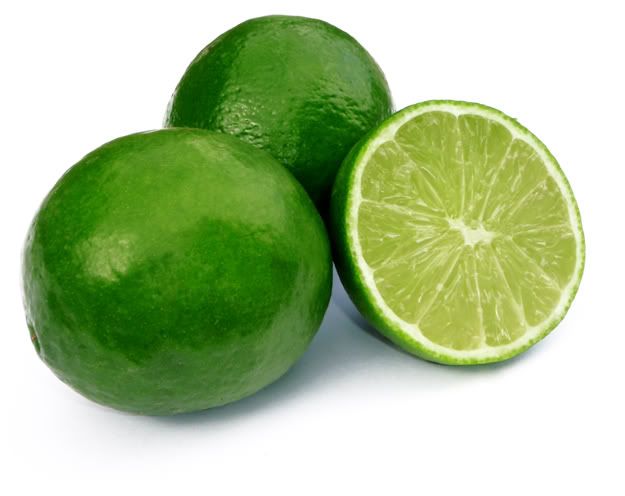
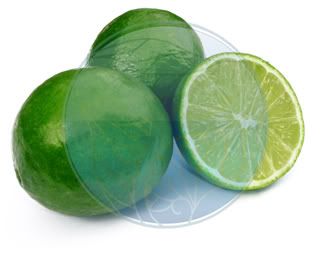
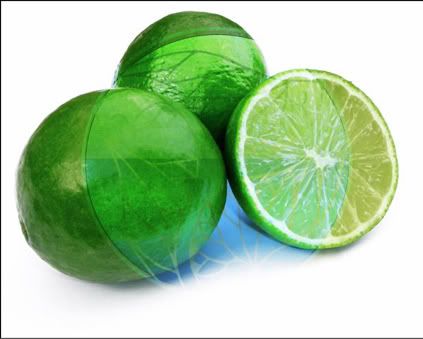
This time I am also providing you with the image too. This is from a free stock exchange site found online.
Image
Step One:
Lets get this guys opened and side by side so we can move on to step two.
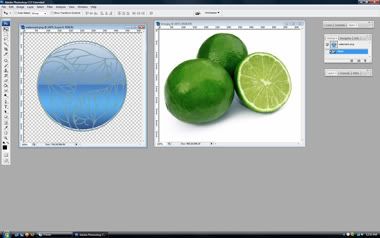
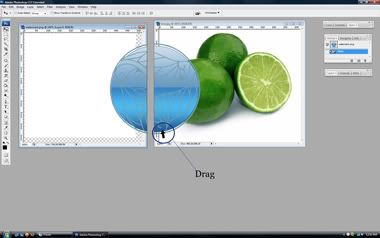
Step Two:
Lets drag the file over. (You guys may remember this process from the last tutorial on layers)
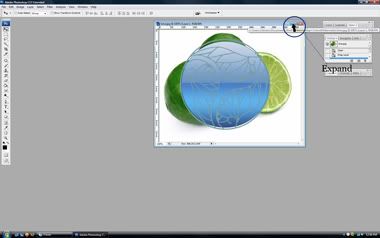
Step Three:
Lets expand the window so the only thing we are working on is the actual image we want to be working on
Step Four:
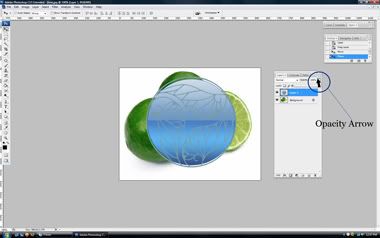
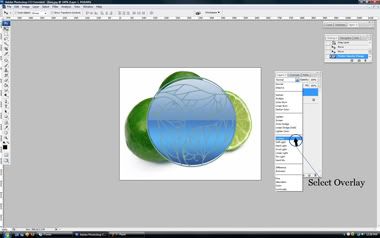
Open your layers window or if it is already open find the word "opacity" and click on the arrow beside it. (see image)
(If you don't know how to open your layers go to window and click on "window" Then find layers and click "layers" and your layers window should pop up)
Step Five:
From here there are two ways you can go.
You can
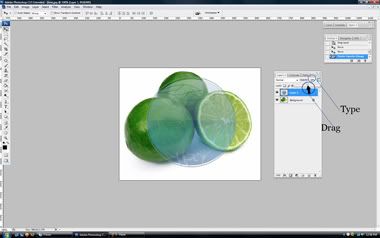
A. Type in a number anywhere from 0-100 into the bar that says opacity
B. You can drag the arrow that pops up underneath the word opacity after it has been selected.
You know can scroll or type to a number that you feel is fitting. In my case I just do everything by eye. That is one way to make a quick, lazy, and easy watermark.
Way 2: You can skip steps 1-3 if you already have the system of the click and drag down.
Step One:
Lets get this guys opened and side by side so we can move on to step two.
Step Two:
Lets drag the file over. (You guys may remember this process from the last tutorial on layers)
Step Three:
Lets expand the window so the only thing we are working on is the actual image we want to be working on
Step Four:
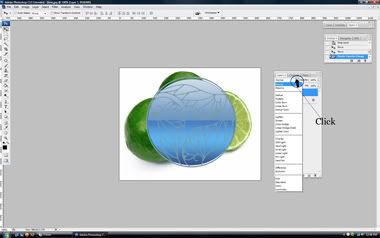
Next to the word "opacity" is also a word that says "Normal" and it also has an arrow that you can click on. When you click on the arrow you should get a drop down window.
Step Five:
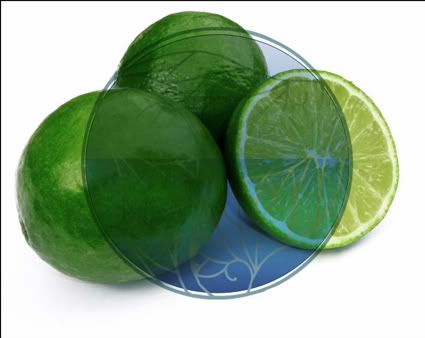
Once the window has dropped down you can look for a word that says "Overlay" and select it.
I normally use this function for text. Depending on the color of what you have and the item under it determines what shows up and where. In this case it worked swimmingly but I wouldn't always suggest it for logos. Like I said its more of a text thing. This is way two.
Way 3 You can skip steps 1-3 if you already have the system of the click and drag down.
Step One:
Lets get this guys opened and side by side so we can move on to step two.
Step Two:
Lets drag the file over. (You guys may remember this process from the last tutorial on layers)
Step Three:
Lets expand the window so the only thing we are working on is the actual image we want to be working on
Step Four:
Next to the word "opacity" is also a word that says "Normal" and it also has an arrow that you can click on. When you click on the arrow you should get a drop down window.
Step Five:
Go to and Select "Multiply" once the window has dropped down
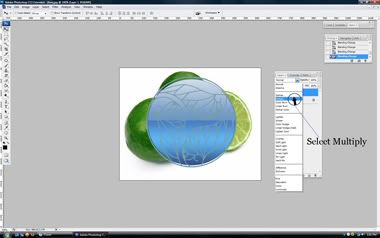
Okay so Multiply isn't the most awesome choice. It just kind of makes the layer itself well...hmmm whats the word I am looking for. Translucent. Multiply is a good way for people who like to color in things underneath a line drawing or make something stand out. Its a quick but very ugly way of making something "your own".
Okay so why did I show one great way, one text way, and one eughk way? Because its good to know the little things even if it makes something ugly. Plus not every way always works. Of course my favorite way is the first one.
If you have successfully finished this tutorial here is your Clemart badge.

Anyway, if anyone has questions or if I missed a step in one let me know. :)
This has been the tutorial for the month of December


1 comment:
Thanks "administrator" but this is sort of just a photoshop tutorial. I am sure there are a ton of different programs out there that do that. I am in no way trying to be a douche or what not but this was just for a few people that asked me. Via the whole blog before in which I asked people what they wanted to know. So I am happy you are helping others but it comes of sort of "asshole like". No offense of course.
Post a Comment