
Anyway I was asked how do people water mark things or where do they get the symbols from. So after providing the symbol still some things were shakey. So for everyone in advance here is a tutorial on it. :)
Now I have provided you guys with the copyright symbol so you can test it on your own or work with me on the tutorial.

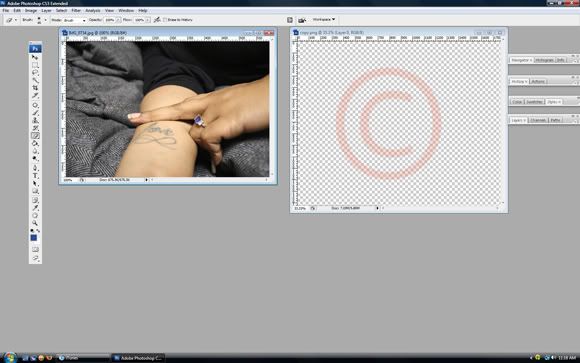
Step One:
-Lets open up photoshop and get both files open. When we have that done lets get them side by side.
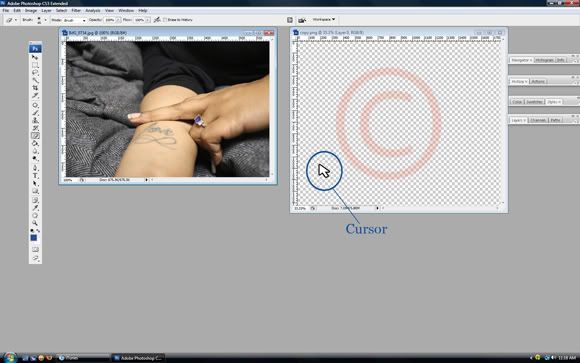
Step Two:
- Now find your cursor and place it over the copyright symbol.
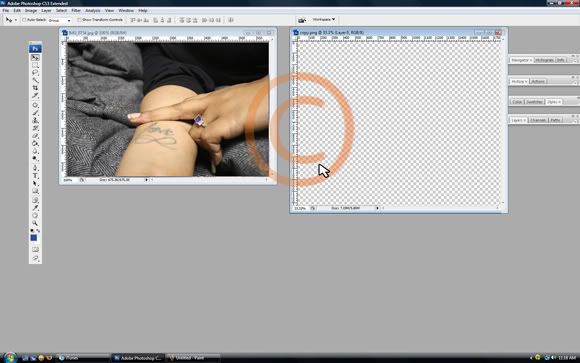
Step Three:
-Click and drag the copyright symbol over to the other open window.
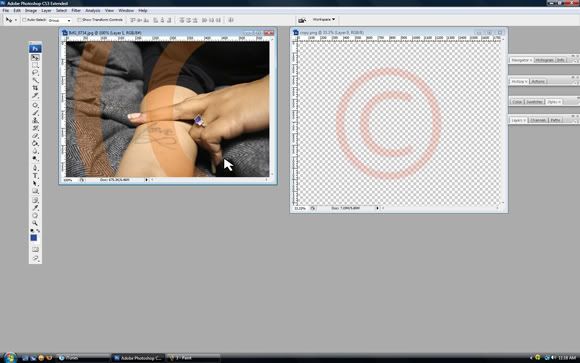
Step Four:
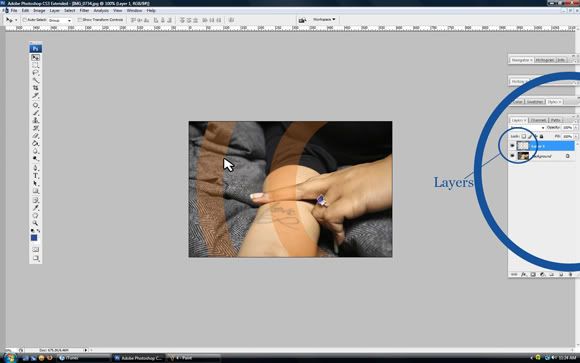
-When the cursor and the copyright symbol are successfully in the other image, simply let go.
Step Five:
-Close out the copyright symbol. We no longer need that but instead lets take a look at your layers panel. You now have a new layer(which happens to be the copyright symbol). Make sure it is selected for this next step.
Step Six:
-With the layer selected go to edit at the top of your tool bar and a list should pop up.

Step Seven:
-On this list go to and select "Free Transform" or if you prefer hotkeys "ctrl+t"

Step Eight:
-What happens is a bounding box is created outside of your layer. You need this bounding box in order to change, warp, skew, and whatever you may have it.

Step Nine:
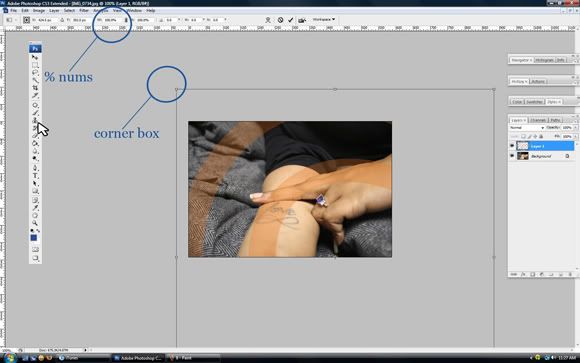
-In this step we begin to resize the bounding box.
-There are two ways to do this.
-In the top toolbar is a percentage symbol with a bunch of numbers. If you are more of a number person that type in the percentage in both percentage box windows. If you only type it in one your image will become all wicky wacky. In advance though if you use this method you might lose your layer when it changes size and have to go find it somewhere on your photoshop.
-The second way which is my preferred way is to simply drag till you see the corner of the bounding box and grab its square and drag it down to size while holding "shift" this keeps everything in scale and you have more control over what happens.
Step Ten:
-When it is dragged down to a size that you actually like just let go of your mouse.

Step Eleven:
-With it dragged down to size hit either "enter" on your keypad or touch something from the toolbar.
-If you hit enter then it automatically sets it to that size
-if you touch something off of your toolbar it will ask you if you want to leave it the way you have it.
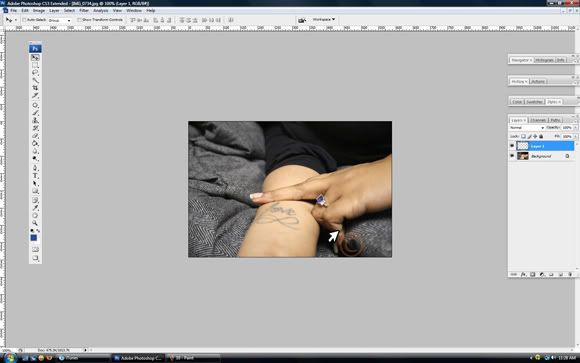
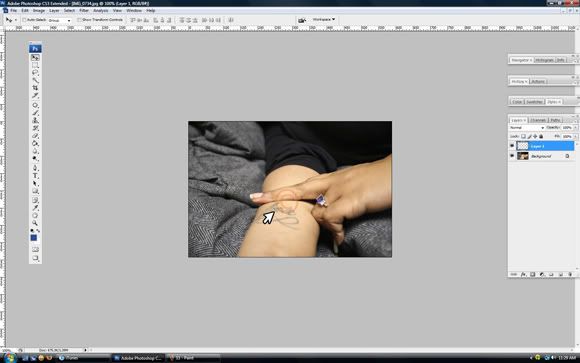
Step Twelve:
-Drag the symbol anywhere you want on your image and leave it there
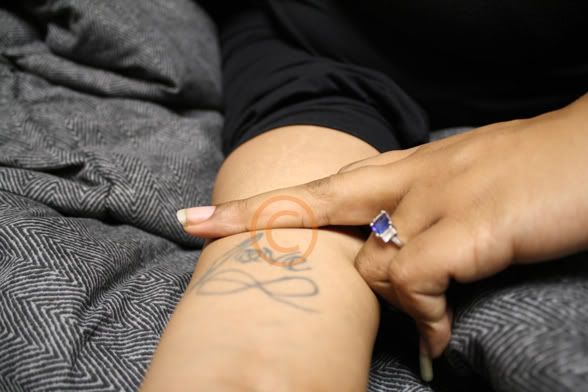
Final:
Save out your image and this is what you have. A watermarked image :)
I guess one day I should make a watermark making tutorial...
If you have finished this tutorial and done it successfully then take a "Clemart Badge" and add it to your blog or wherever else it may be that you post. Let everyone know that you learned something :).


No comments:
Post a Comment