
Warning!!! If you have not done my other tutorials or are not familiar with photoshop this will sound like nonsense. Take the time to do my other tutorials if you have not.
So I figured out a way to do a many tutorial but it would span into next month oddly enough and take over the tutorial that month so for all of you I present:
Web Design mini-course:
HeathensHearth was awesome enough to let me use them as a guinea pig for this little experiment so here are the files for you guys!
Alrighty first step is to:
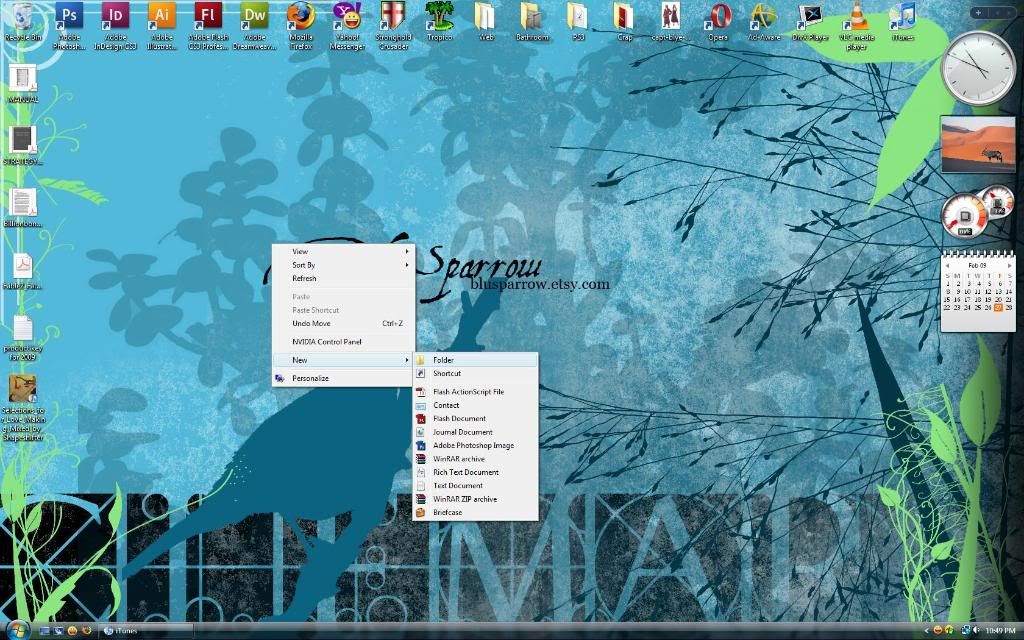
Make a new folder on your desktop background:
Next make two new folders inside of that folder:

Name one source and one images.
Your source files will contain things like your photoshop files or flash files. Your images files will contain all jpegs, gifs, and whatever have yous.

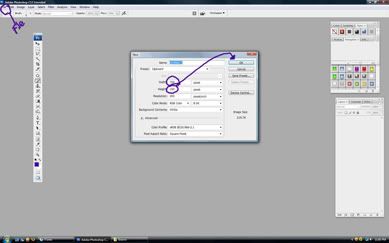
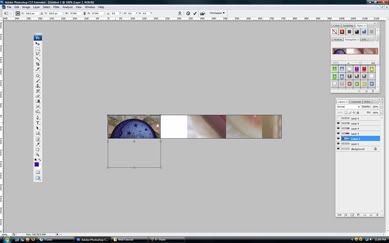
After we get that all squared away lets open up photoshop and create a new document. The measurements for this document should be 750x100. Which is about 10 pixels short of an etsy banner:
From here lets create a new layer and get all of our other files open. You can do this by:
a. going through file>open>"file name"
or
b. drag and drop the files into photoshop
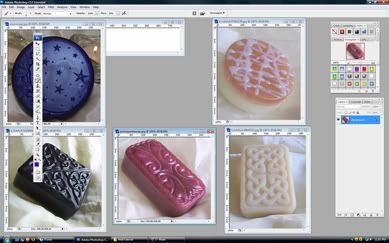
Now that we have our files open lets drag them into the open photoshop document. If you are unfamliar with this step see my other tutorials:
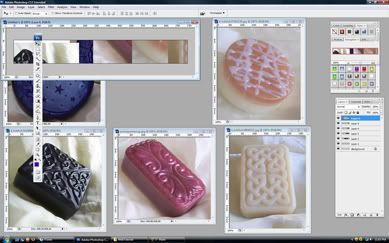
From here lets close all those other guys out and save this booger. We are going to save it in the "source" folder we created earlier under "banner" After that lets start changing the size of these layers.
You can do this by(from layer sizing tutorial)
a. hitting ctrl+t and clicking and dragging
or
b. going into edit>free transform>and dragging:
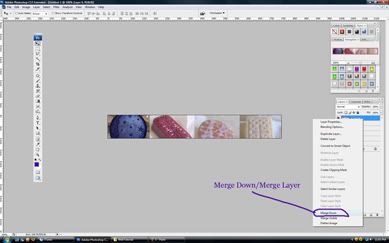
After we get everything sized the way we want it lets merge those layers to save on some space.
You can do this by
a. hitting ctrl+e
or
b. right clicking on the layer and selecting merge layers:
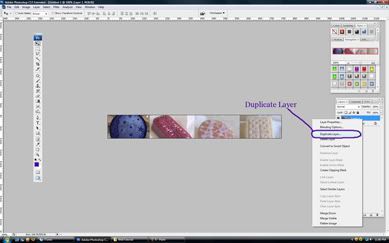
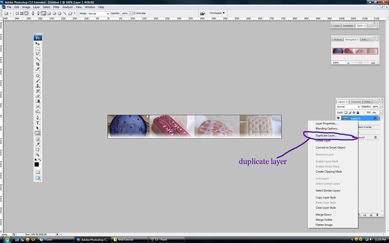
If you like the way everything looks from here you can skip the next two steps. I personally love to add on a bit of texture to things so I make a duplicate of the layer
You can do this by
a. right clicking on the layer and selecting "duplicate layer"
or
b. clicking on layers at the top and selecting duplicate
From here we select "Filters" from our top bar of photoshop. You can randomly pick anything you like. Photoshop allows you to change the option inside of the setting.
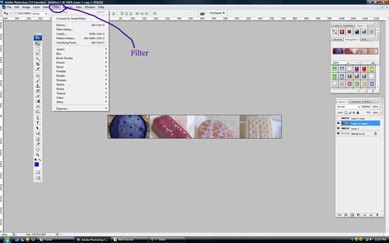
From here I personally select "Paint Duabs" like 98% of the time. I can toggle the numbers to change the size of my brush or the amount of detail I have.
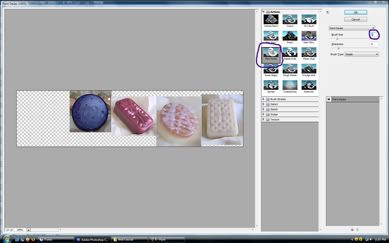
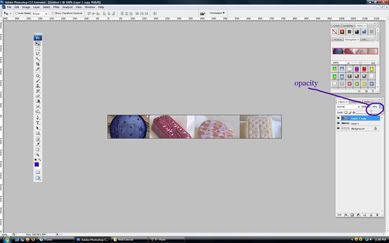
After that I hit okay and head back into photoshop. I go to the opacity button and change the number (from my watermarker tutorial)This gives the layer more texture and feel and it doesnt just look like plain pictures but works of art.
Okay make a new layer and select the shape tool. For this particular exercise we are using the rectangle tool but if you prefer to use a funky shape be my guest but it will hurt you in tomorrows portion.
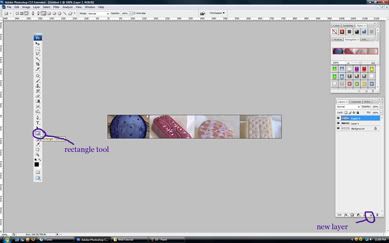
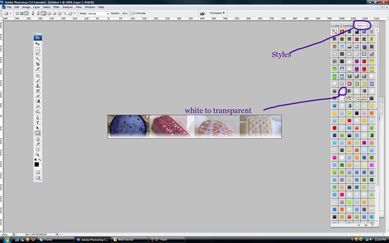
Now from here you can leave it whatever colored you made it or change it with styles. I have a huge library of styles and some of you might. So for this tutorial you might have to stick with a basic color. If you have a ton of styles this will be a snatch for you.
If you dont have a styles panel open go to "window>styles>and select it" from there your styles panel should open.
Depending on what you decide to do it really doesnt matter but for this step we are going to duplicate the layer with our shape on it to make sure that we have the exact same shape in the exact same position. This will come in handy for our navigation of the website. After you have duplicated the layer if you are using styles you can select a new style or if you are not you can just use the paint bucket tool and change the color.
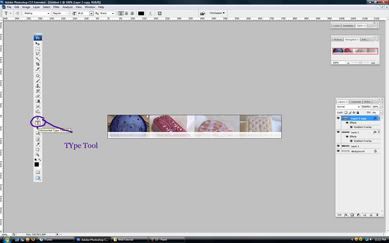
From here we want to select the text tool. Pick a font you like and add words to the bar we just created. The easiest way is to just line up the words with the picture. So pick 4 words and lets get those babies on our page:
Notice that I created a new layer for all of the text. This allows me to move everything by piece instead of in a huge layer that I might need to edit later due to spelling or me not favoring one thing. If you put the text on separate layers it will also help you.
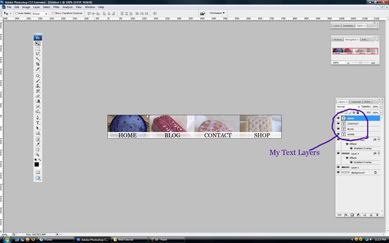
From here lets select all of those text layers we just made (or for some people layer) and right click on them and hit duplicate.
If you dont know how to select several layers you can:
a. click one layer and the hold the shift button and select the others
or
b. Just drag around the layers and select them all
Once we get those guys duplicated lets change the color of the text. This will help us also when it comes to creating separate forms of navigation.
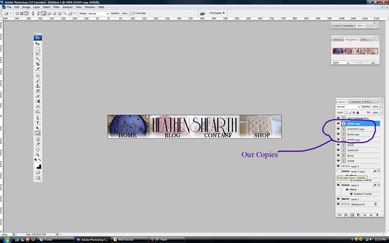
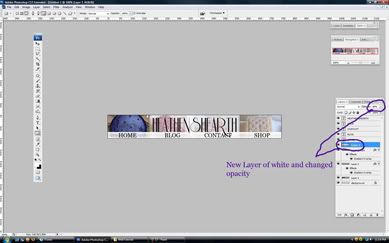
From here lets do a nice toggle on our layers. Lets turn off the eye on our original text layer and on one of our layers that has the rectangle(our shape that you picked) and see how our navigation system looks. The one that is all of your original text layers and rectangle that you turn off can be used to represent our inactive buttons (will explain tomorrow) and our active buttons will be the reverse. Look at this combination's now and decide if you like them or not.From here we can add the name of our site. In this case I used "Heathens Hearth"
From here I personally find the text hard to read so I add a white rectangle behind it and fade it to make my text more readable. Depending on what you have done and your color choices you can toggle or mess around until you feel safe with your choice.
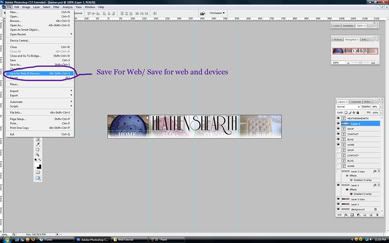
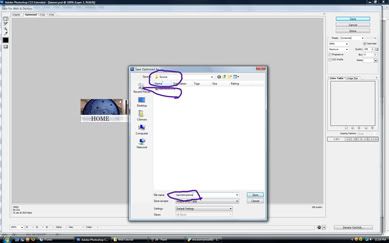
From here its just saving out. Now remember that you turned some layers off and on. Keep this combination and lets got to file>save for web or devices
or in older versions of photoshop its
file> save for web
and in even older versions of photoshop
you have to flatten you image
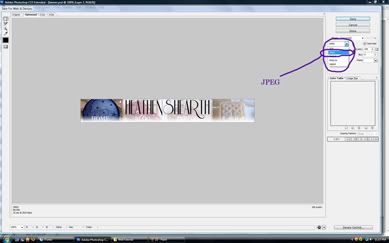
Take a look at your panel on the right hand side and make sure it is set to "jpeg"
Now take a second look and also make sure that it is set to maximum.
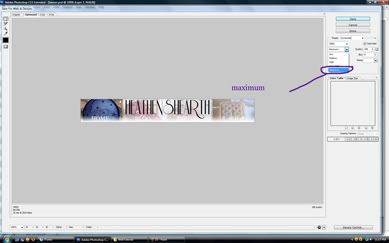
If thats the case then remember your toggled choice and name it either "active banner" or "inactive banner" this will save us time on issues we will run into when saving out tomorrows stuff.Also these guys go in your "Source" folder for now.
Okay the good news is this porition of the tutorial is over.


The bad news is tomorrow it gets more wordy. If you had trouble following any of these steps let me know and I can try and help you out as much as I can. Tomorrow I have a ton of running around like a chicken with my head cut off to do so I will upload bigger files to my website for all of you who cant see. Today you have successfully made your navigation here is your badge to put on your blog for completing this tutorial:


1 comment:
lol, no wonder I couldn't find you all day! You've been working on this! Awesome! I need to pencil in a day to do this asap!
-bff
Post a Comment