
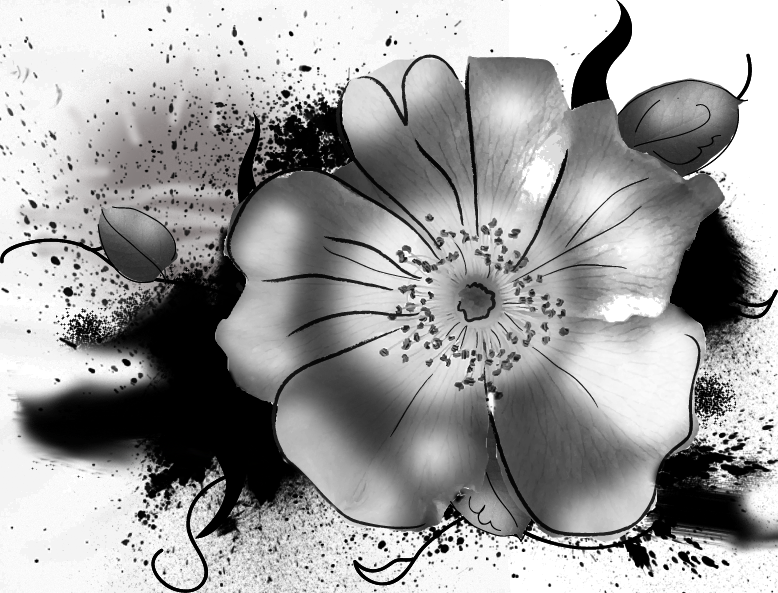
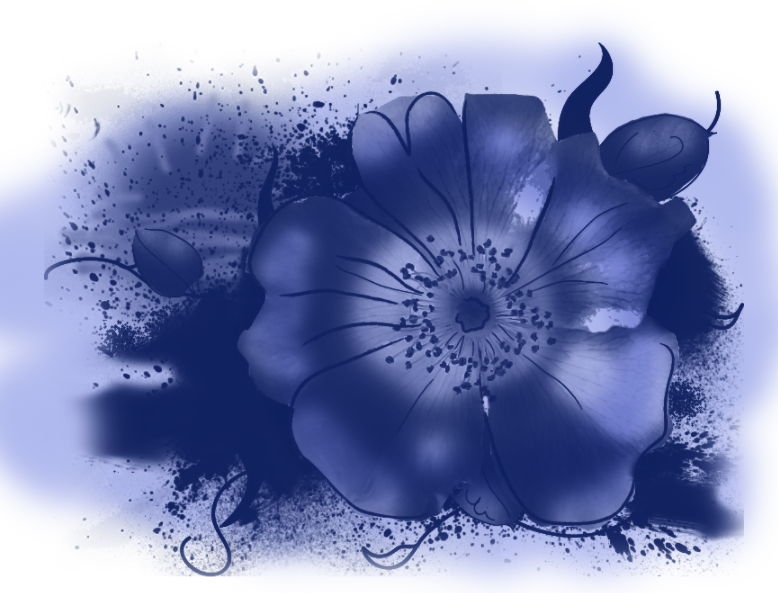
I've provided you guys with the image as usual. Today we are going to be working with a flower image. If you would like to work with you own photo or drawing it needs to be in either gray scale or black and white. If the photo or drawing is in gray scale remember that anything that is white will not show up on your brush.
Step One
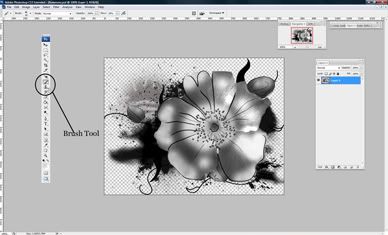
Alrighty, first step is to get this flower opened in photoshop. After that we select our brush tool.
Step Two
Lets look on our tool bar and we will find a number next to a brush shape. Next to the number is a little arrow and thats what we want to click on to get our brush menu to drop down.

Step Three
With our brush menu you down we can see a list of the brushes currently in use. If you are an older version of me you might have 80 brush sets that dont belong to and if you are new to this then this is where all your photoshop brushes are in the program.

Step Four
Sadly we now have to deleted all of this brushes one by one. Right click on a brush and select delete. When all of your brushes are deleted move on to step five.
Things to be aware of
If you have a ton of brushes and you find it too hard to save them all simple reset the brushes and a save window will pop up. Save those current brushes and then start from the newly reset brushes and delete them.

Step Five
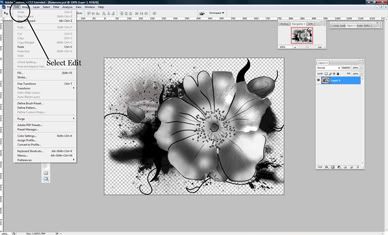
Select "Edit" from the tool bar to get your drop down menu to pop up.
Step Six
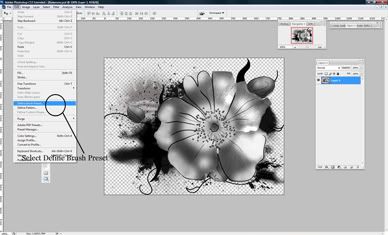
Look for and find something that says "Define Brush Preset" and select it.
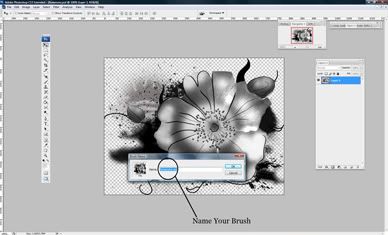
Step Seven
A window should pop up saying the name of the file ".png" or ".jpeg" ".psd" etc select inside of that window and name your brush. Then follow that up by hitting "ok"
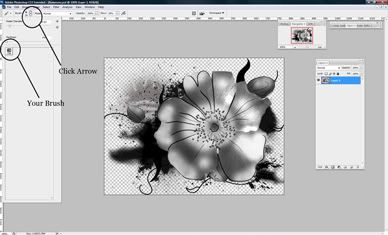
Step Eight
Reselect the brush tool and bring down your brush menu again by clicking the arrow. There you will find your newly made brush. Click on the little guy and lets give it some love.
Step Nine
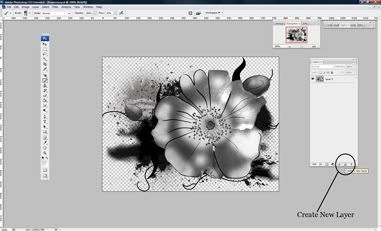
Lets make a new photoshop layer. If you dont know how you can either:
a. Go to your layers palette and select the thing thats a funky square. If you hoover over it, it will say "Create New Layer". Click it and you have a new layer.
b. Look up on your tool bar and select "Layer" and then follow that by selecting "New" and then "New Layer".
Step Ten
Lets turn off our bottom layer by using the "eyeball" in photoshop. Just click the eyeball next to your layer in order to turn it off.

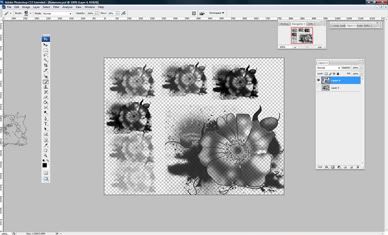
Step Eleven
Select your new layer and have at it. Click, drag, make it big, make it small, and change the color if you like. Get a feel for that new brush.
Step Twelve
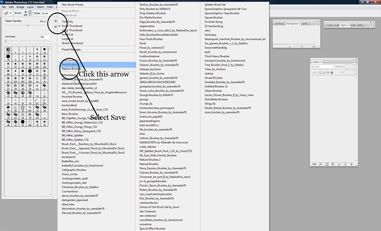
Lets save this brush. Select the arrow again and drop down your brush menu. You look in the top right hand corner of the brush menu and there is a tiny little arrow. Select this guy and a whole new menu should pop up.On it you want to select save and well...name this brush set and save it out. (dont worry if you want to add more brushes to the set its a snap)Also remember where you save this little guy to.
Step Thirteen
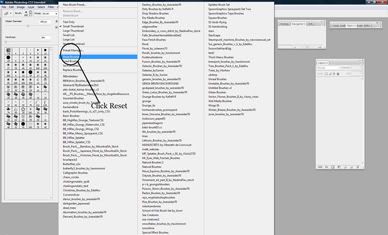
With this guy saved lets get back your old brushes. Open up the brush menu again and once more click on that tiny arrow in the corner. Find and select "Reset Brushes".
Step Fourteen
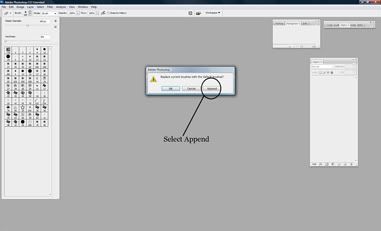
A new window will pop up asking if you want to discard this current brush or keep it.
Select "Append" which means to keep and now you have all your old brushes back plus your new brush.
Things to be aware of
This will not reload all of the brushes that you have collected over the years if you are one of those people. You have to go through and mainly re-add them.
Now that you Have all that out of the way have fun with making brushes!
As always here is your badge if you have successfully completed this tutorial.


2 comments:
Clemmy, wonderful tutorial! I'll try to make a brush for the postcard! So excited.
Awww, I have finished mine. I think I might redo it though. Seems tooo plain!
Post a Comment